
How I do my Nails!
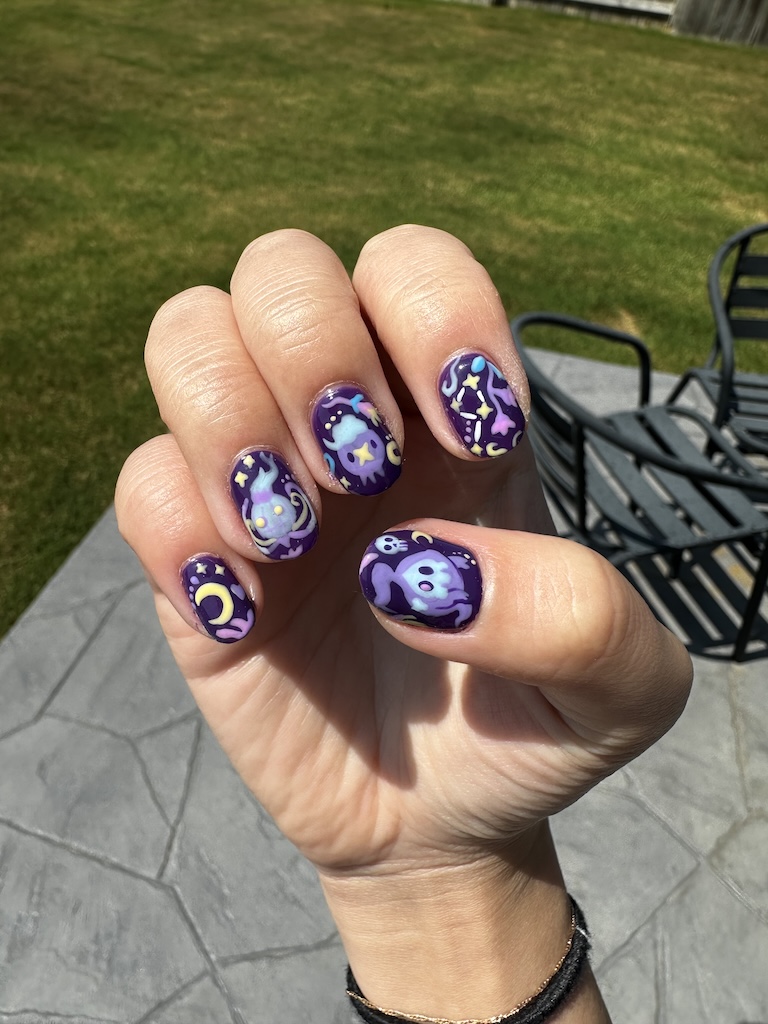
Hey guys, I wanted to make a step by step guide on how I personally do my nail art at home. I get asked all the time how I do my own nails, so I wanted to share my process and the products that I personally use.
This post does contain affiliate links, which means if you click on the products I use and make a purchase, I may earn a small commission. However, I want to be transparent that I was not paid by any of these brands or products. These are simply the products that I personally purchased, use, and enjoy. This is the full list of products I use!
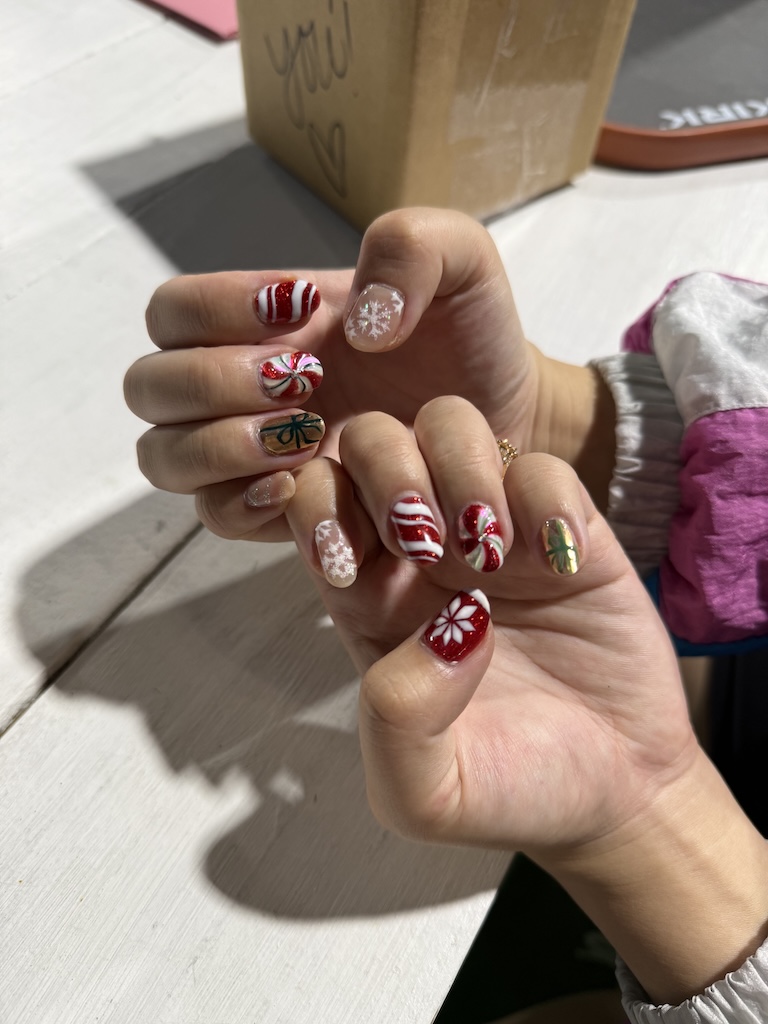
Step 1: Prep Your Nails
If you don't have any nail polish on, the first step is to buff and smooth out your nails. I use this buffing kit, where you first use the soft file to smooth out any ridges on your nails, and then use the buffing side to make them nice, shiny, and smooth.
This step is important because it helps your gel nail polish stick better and last longer. It also creates a smoother surface, which will make your final nail art look cleaner.
At this point, you also want to clip your nails and file them into whatever shape you like. Personally, I like more of an almond square shape for my nails. These are the cuticle cutters I use, but not mandatory.
Step 2: Apply Your Base Coat and Builder Gel
This is probably the most important step. First, you want to apply your base coat. This is the one I personally use.
After that, you want to apply your builder gel. Every time you add a layer of product, make sure you cure it under your UV lamp before moving on to the next step. This helps each layer properly set and creates a stronger foundation for your gel manicure.
At this point, I also wear UV gloves to help protect my hands from the UV rays while curing my nails. These are the ones I personally use.
Step 3: Clean and Build Your Builder Gel Layers
This step is really important. After you apply your builder gel and cure it under your UV lamp, you need to wipe off the initial oily layer on the surface using alcohol prep pads.
You can use regular rubbing alcohol, but I personally prefer using prep pads because they are much easier and less messy. These are also great to have on hand because if you make a mistake while applying gel polish, you can use the alcohol prep pads almost like an eraser to wipe away the mistake.
I usually apply around 2 layers of builder gel. Builder gel is really helpful because it creates a strong, smooth surface to work on, while also helping your manicure last longer. It adds strength to your natural nails, and as it cures, it helps smooth and flatten the surface, creating a more rounded appearance.
You can use builder gel to create a more structured, rounded nail shape similar to a Russian manicure, or you can apply it flat like I personally do.
Step 4: Add Your Gel Polish and Nail Design
Once you finish curing your builder gel, your next step is to add whatever color or design you want.
Personally, I use a lot of Beetles gel polish. I have a bunch of different colors from them, but honestly, the brand matters less as long as you have a strong foundation underneath. These were some of the first Beetles gel polishes I purchased when I started doing my nails at home. I will say that some of the jars can be a little clunky, but overall they work well.
After you cure your gel polish, you can also start adding different pigments and nail art details. One of my favorite products to use is the pigment powder from Bonniebee Nail. This is not available on Amazon, so you have to order directly from their website, and shipping can take a little longer.
If you are planning to do nail art long term, I recommend making a larger order and getting a variety of their nail powders and rhinestones. When I first started, I placed a large order that was around $300, and I actually have not needed to purchase another order from Bonniebee in over 2 to 3 years.
Some of my favorite pigment powders from them are Moonlight, Ylang Ylang, Grapefruit Pink and Ash Gold.
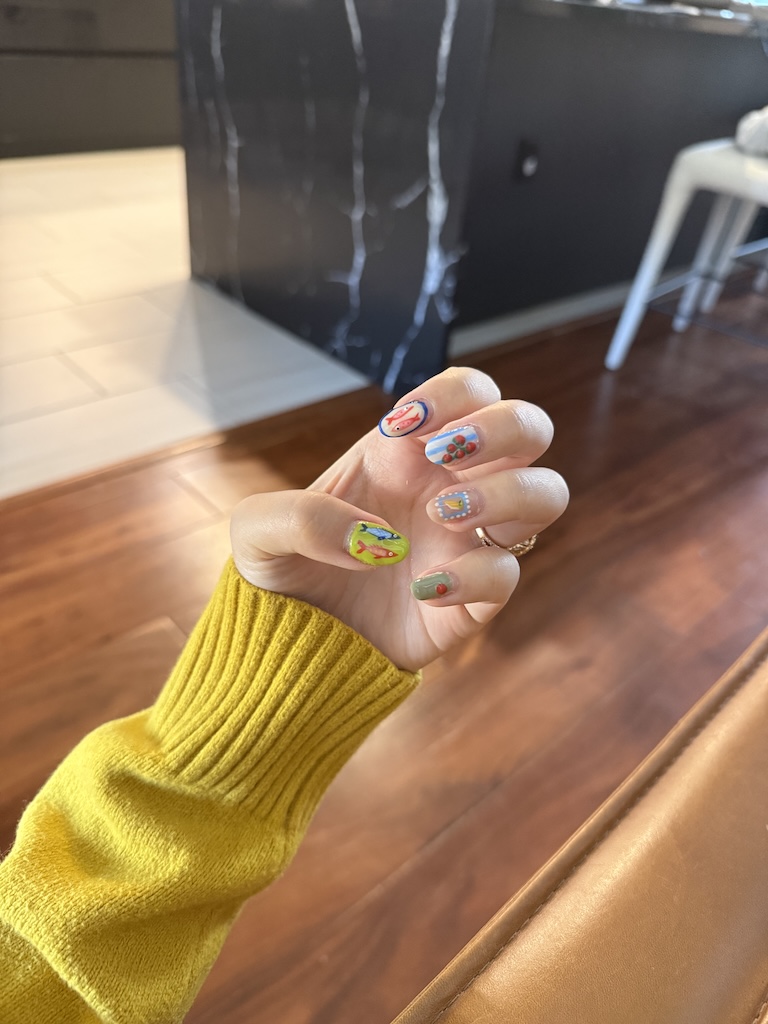
Optional Step 5: Apply Your Nail Powders
The important thing about using nail powders is that you need a smooth surface to apply them onto. This can be your builder gel after you wipe off the alcohol layer, or you can cure your gel polish and then apply the pigment powder on top.
For example, if you want your pigment powders to have a more intense and iridescent effect, I recommend using a black gel polish underneath. After you cure the black gel polish, you can rub the pigment powder on top to create that more reflective look.
Once you finish applying the powder, make sure you seal everything in with a top coat and cure it. After that, you can continue adding more designs on top of the top coat. Just remember to cure between each layer so everything properly sets
Step 6: Add Rhinestones and 3D Details Optional
Another optional step is adding rhinestones or creating 3D nail art. If you want to add rhinestones, make sure you use a proper rhinestone glue so they stay in place and last longer.
If you are wondering how people create those raised textures and 3D designs, they typically use a [structural builder gel](https://amzn.to/4vY1LQY. You can use different nail art brushes to apply the gel and build up different shapes and textures, then cure each layer under your UV lamp.
Using these different products and techniques, you can create so many different designs and make your nail art look much more detailed and unique. These are the brushes I use!
Step 7: Seal Your Manicure
After you finish your nail art, the final step is always to seal everything in with a top coat and cure it under your UV lamp. This helps protect your design and gives your nails that shiny, finished look.
You can also apply cuticle oil afterward to keep your cuticles hydrated and your manicure looking fresh
Step 8: Removing Your Gel Manicure
I’m also going to include a step on removal because this is just as important as the application process. Removing gel nails can be a very tedious process and can honestly take almost as long as applying the manicure itself.
To start, you want to use a nail file or an electric nail file, which is what I personally use, to gently remove the top layer of the top coat. This helps break the seal and makes the rest of the removal process much easier.
There are a few different methods when it comes to removing gel polish. One common method is soaking a cotton ball with acetone, placing it over the drilled nail surface, and letting it sit for a while before gently scraping the gel off with a cuticle pusher.
Personally, I use this gel remover, which works more like a nail polish. However, you have to be very careful and only apply it directly onto your nail. If it touches your skin, it can burn, but you can quickly wipe it away with an alcohol prep pad.
After applying the gel remover, let it sit for around 30 seconds. You will start to notice the gel polish lifting and peeling away from the nail. From there, you can use a cuticle pusher to scrape off the polish, or you can use an electric drill to gently remove it.
I personally use a combination of both methods. I continue applying layers of the gel remover and carefully scraping away the polish until everything is fully removed.
Final Thoughts
If you have any questions, feel free to message me on Instagram or send me an email. This is my full step by step method for doing my own nail art at home.
Like anything else, it takes time and practice to get better. The more you do it, the more comfortable you will become with the process, and your nail art will continue to improve over time.
Keep Reading

My 2025 Gift Guide for the Holidays
Our 2025 holiday gift guide for foodies and Austin lovers. Kitchen tools, cookbooks, local finds, and gifts we actually use and recommend.
Read the guide →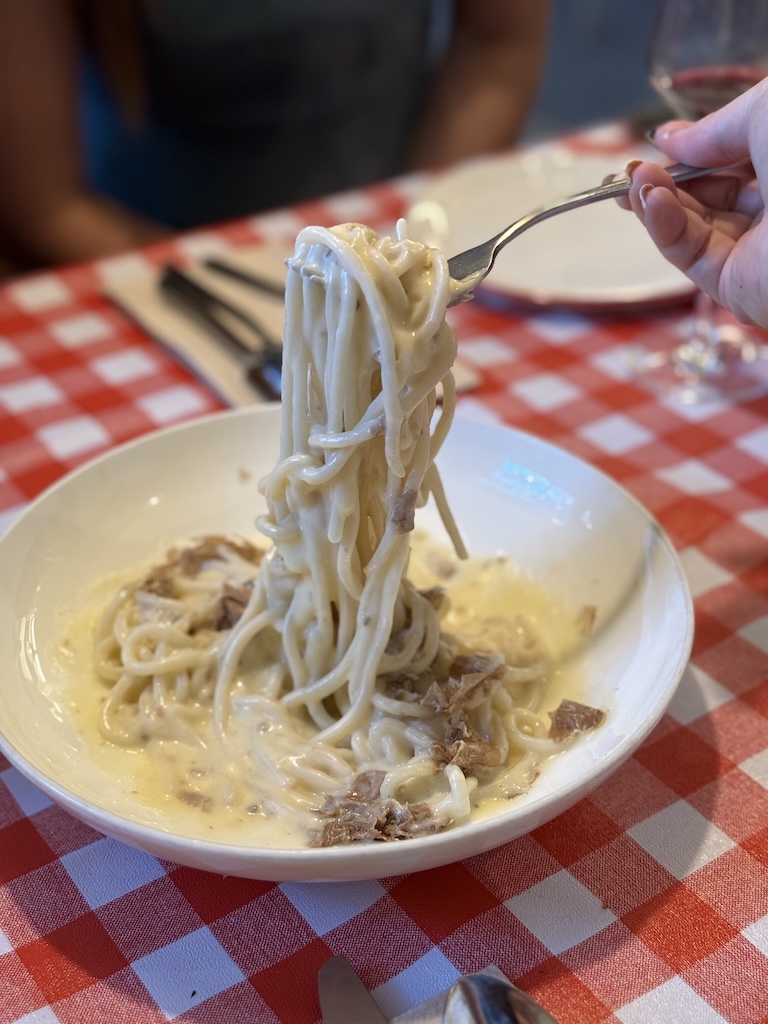
Best Italian Restaurants in Austin, TX!
This is my guide to iItalian spots in Austin, TX. As someone who has traveled to Italy and LOVES Italian Food.
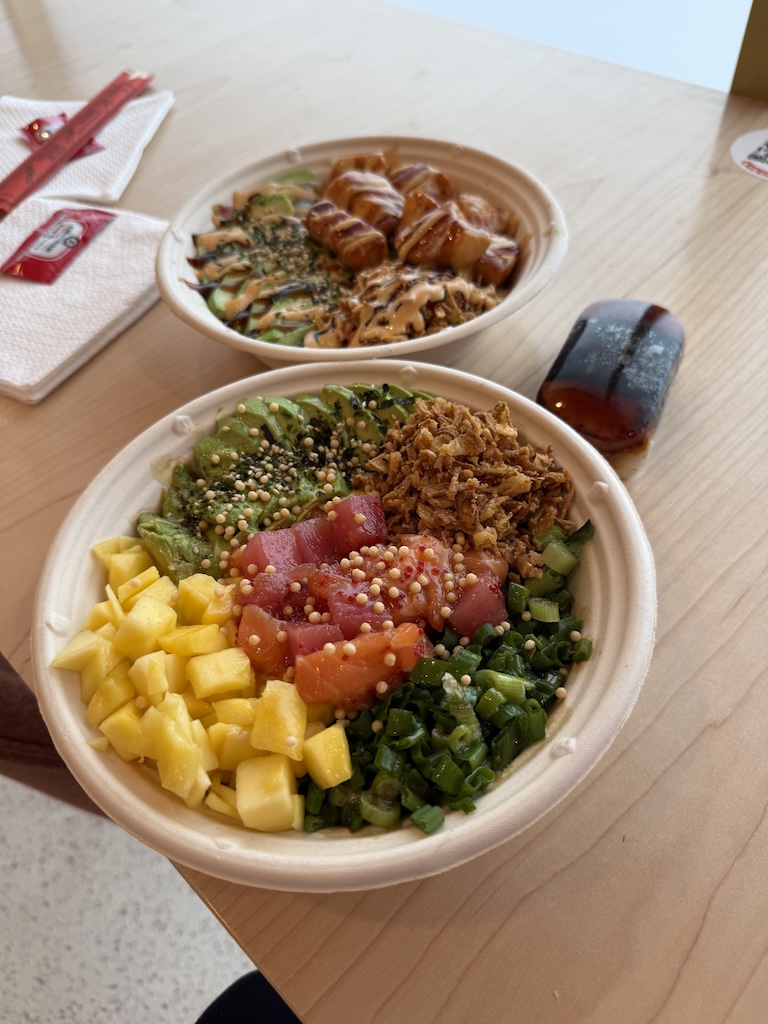
Best Healthy Restaurants in Austin, TX
These are my go to spots for healthy or protein packed meals for those trying to be healthy! Bonus is they also taste good!
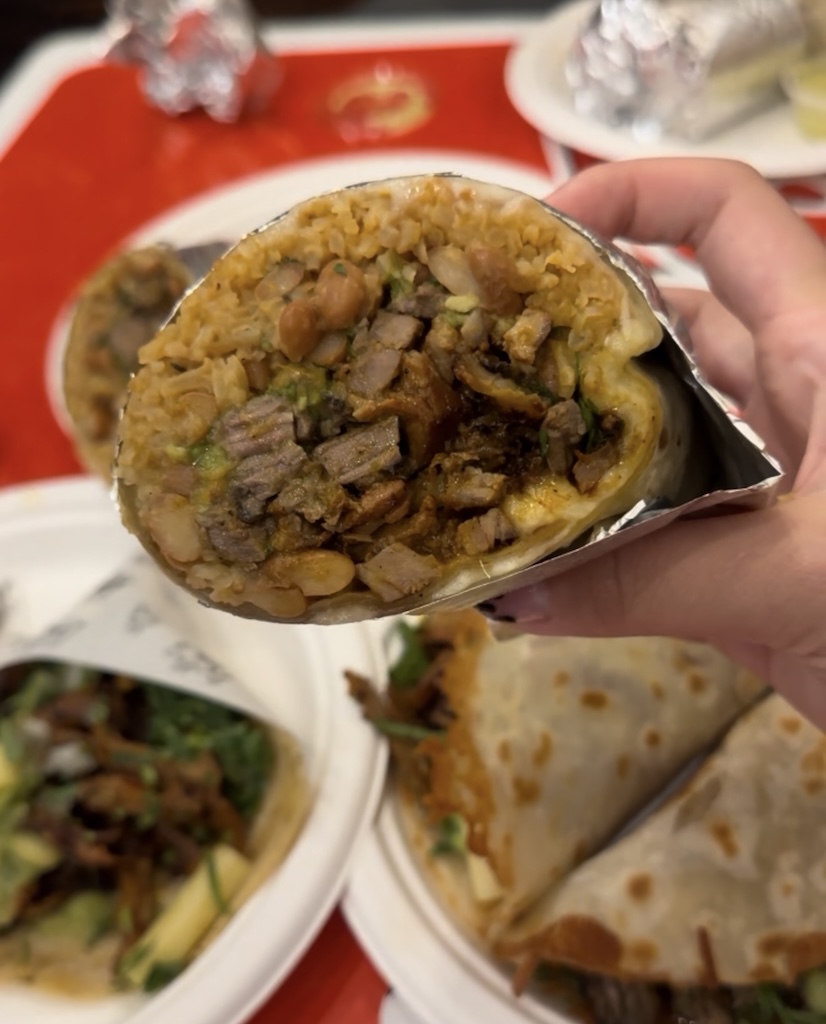
Best Burritos in Austin!
My Favorite Burritos in Austin, From the best Mission style burrito, to cult favorites, these are the burritos you need to try!